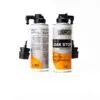

Instructions for Using Lubrisen Leak Stop 1234yf:
1. Identify the Leak:
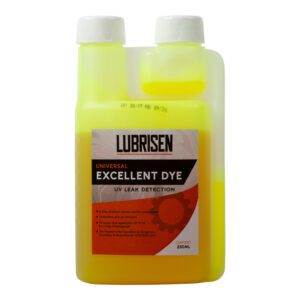
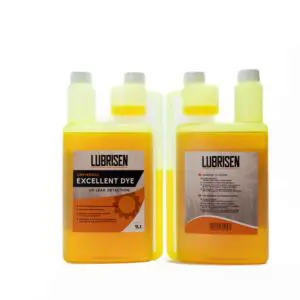
– Determine the area of the micro-leak in your automotive A/C system. It could be evident through visual inspection or by using UV dye if necessary.
2. Prepare the System:
– Ensure the A/C system is turned off, and the vehicle is in a well-ventilated area.
3. Shake the Lubrisen Leak Stop Canister:
– Shake the product canister thoroughly to ensure proper mixing of the sealant.
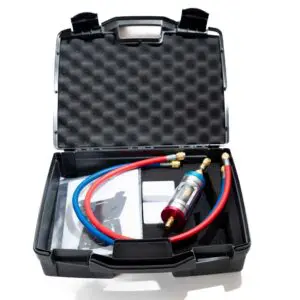
4. Attach the Applicator Hose:
– If your Lubrisen Leak Stop comes with an applicator hose, attach it securely to the canister.
5. Inject the Sealant:
– Introduce the Lubrisen Leak Stop sealant into the A/C system through the appropriate access point. This is typically done by attaching the applicator hose to the low-pressure port.
6. **Run the A/C System:**
– Start the vehicle and turn on the A/C system to allow the sealant to circulate throughout the system.
7. Locate the Leak:
– Monitor the system for signs of escaping sealant, which will react with the air and harden upon contact with the leak source.
8. Permanently Seal the Leak:
– As the Lubrisen Leak Stop reacts and hardens, it will permanently plug the micro-leak, restoring the integrity of the A/C system.
9. Verify Repair:
– Check for proper A/C system functionality and monitor for any signs of leakage. The repair should provide a long-lasting solution.
Note: Lubrisen Leak Stop can also be used preventively to proactively seal potential micro-leaks in the A/C system before they become problematic. Simply follow the same steps as outlined above. Always refer to the product’s specific instructions for the most accurate usage guidance.
Check the 'Applicability' tab on our website to verify compatibility with your machine or lift. Whether used individually or as part of a set, this product guarantees reliable performance and long-lasting quality.